Booking a cab through Uber is quite easy even if it’s your first time using the service.
In most instances, you will launch the Uber app, enter the destination you want to travel to, confirm where you are going to be picked up from, select the right ride, check the mode of payment, and confirm the booking.
When the ride is accepted, the driver’s location, the estimated time of arrival, the vehicle details, and more information about the driver are displayed to enable you to identify the right vehicle. Request a Car on Uber is very interesting things.
Here is how you do it step-by-step.
Answer: How Do You Request an Uber Ride?
To request an Uber cab:
- Launch the Uber app.
- Log in to your Uber account.
- Type in your destination in the ‘Where to’ field.
- Verify or change your pickup location.
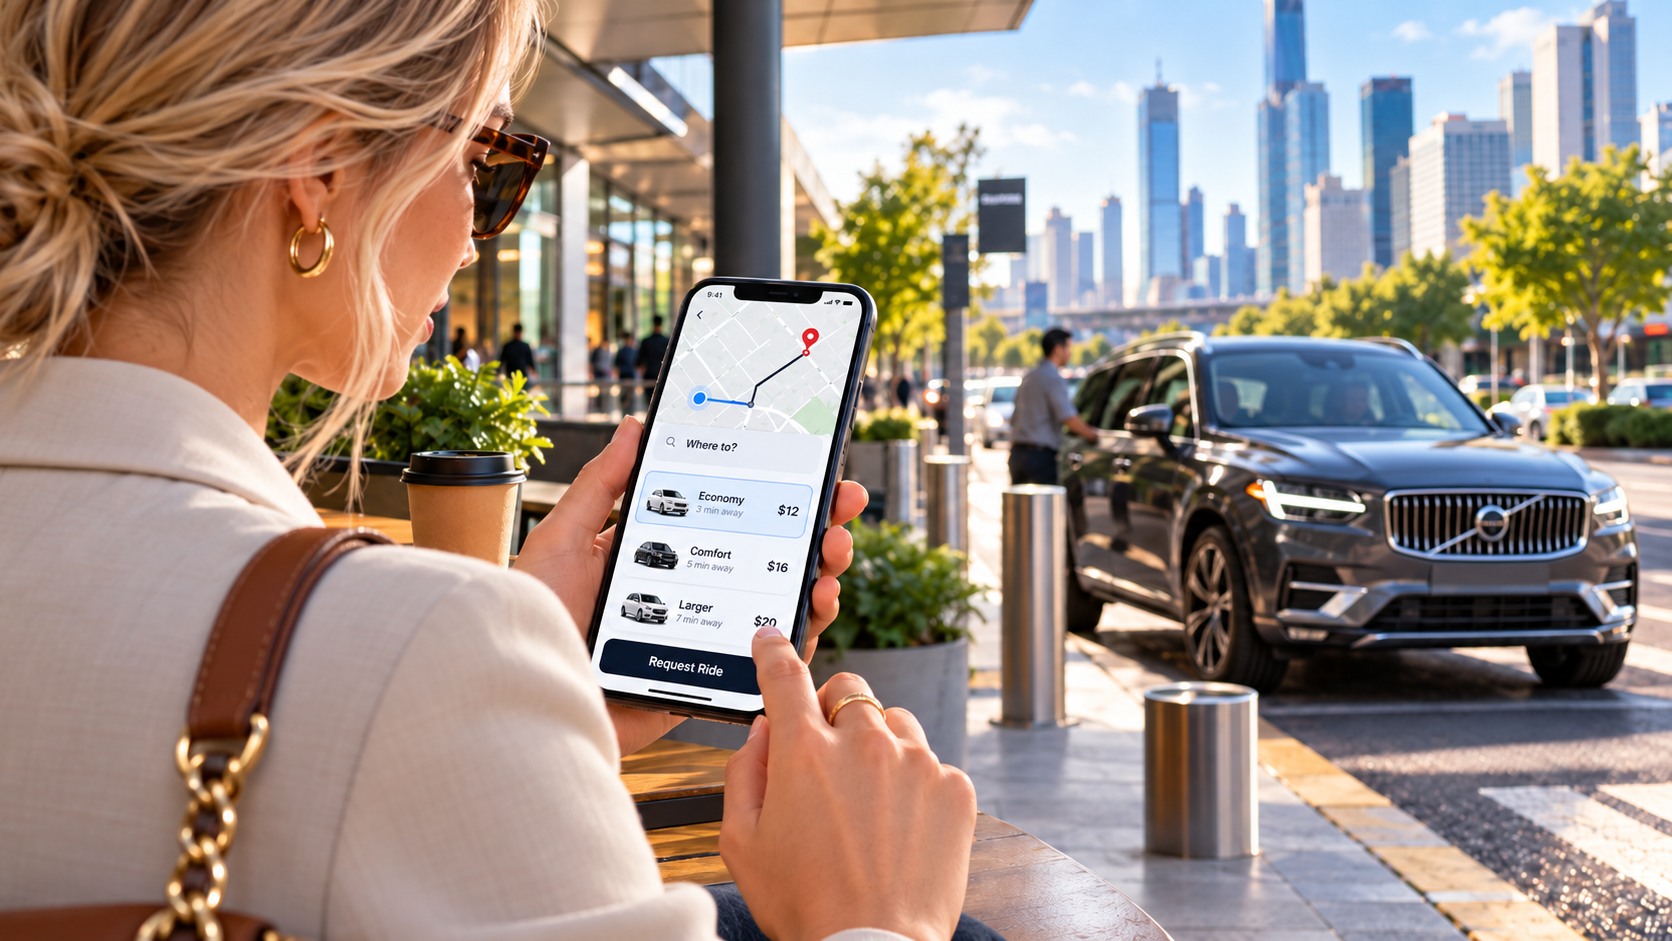
- Select the available ride types.
- Select a ride that meets your requirement.
- Confirm the fare estimation and mode of payment.
- Press the button to book the car.
- Wait for a nearby Uber driver to accept.
- Track the driver’s arrival in the app.
- Check the driver’s name, car, and license plate before getting into the car.
The above steps are basically the same as the official guidelines
Step 1: Download the Uber App
Start by installing the official Uber app on your smartphone.
After installation, open the app and create an account if you do not already have one.
You may be asked to provide basic account information such as your phone number and other details required in your region.
Keep the app updated because Uber can change its interface and add new features over time.
Step 2: Allow Location Access
Uber uses your phone’s location to help determine where you are.
When you open the app, it may automatically set your current GPS location as the pickup point.
This makes requesting a ride faster.
However, GPS is not always perfect.
You should still check the pickup location before confirming your ride.
This is especially important when you are:
- Inside a shopping mall
- At an airport
- Near a large apartment complex
- At a stadium
- At a train station
- On a street with multiple entrances
Uber says riders can move the pickup pin or enter a different pickup location when the default GPS location is not correct.
Step 3: Enter Your Destination
On the main Uber screen, look for the Where to? field.
Tap it and type your destination.
This could be:
- A street address
- A restaurant
- A shopping center
- A hotel
- An airport
- A business
- A saved location
Uber may also show recent destinations or saved places to make repeat trips faster.
Before continuing, check that you selected the correct destination.
Similar business names or addresses can sometimes appear in search results.
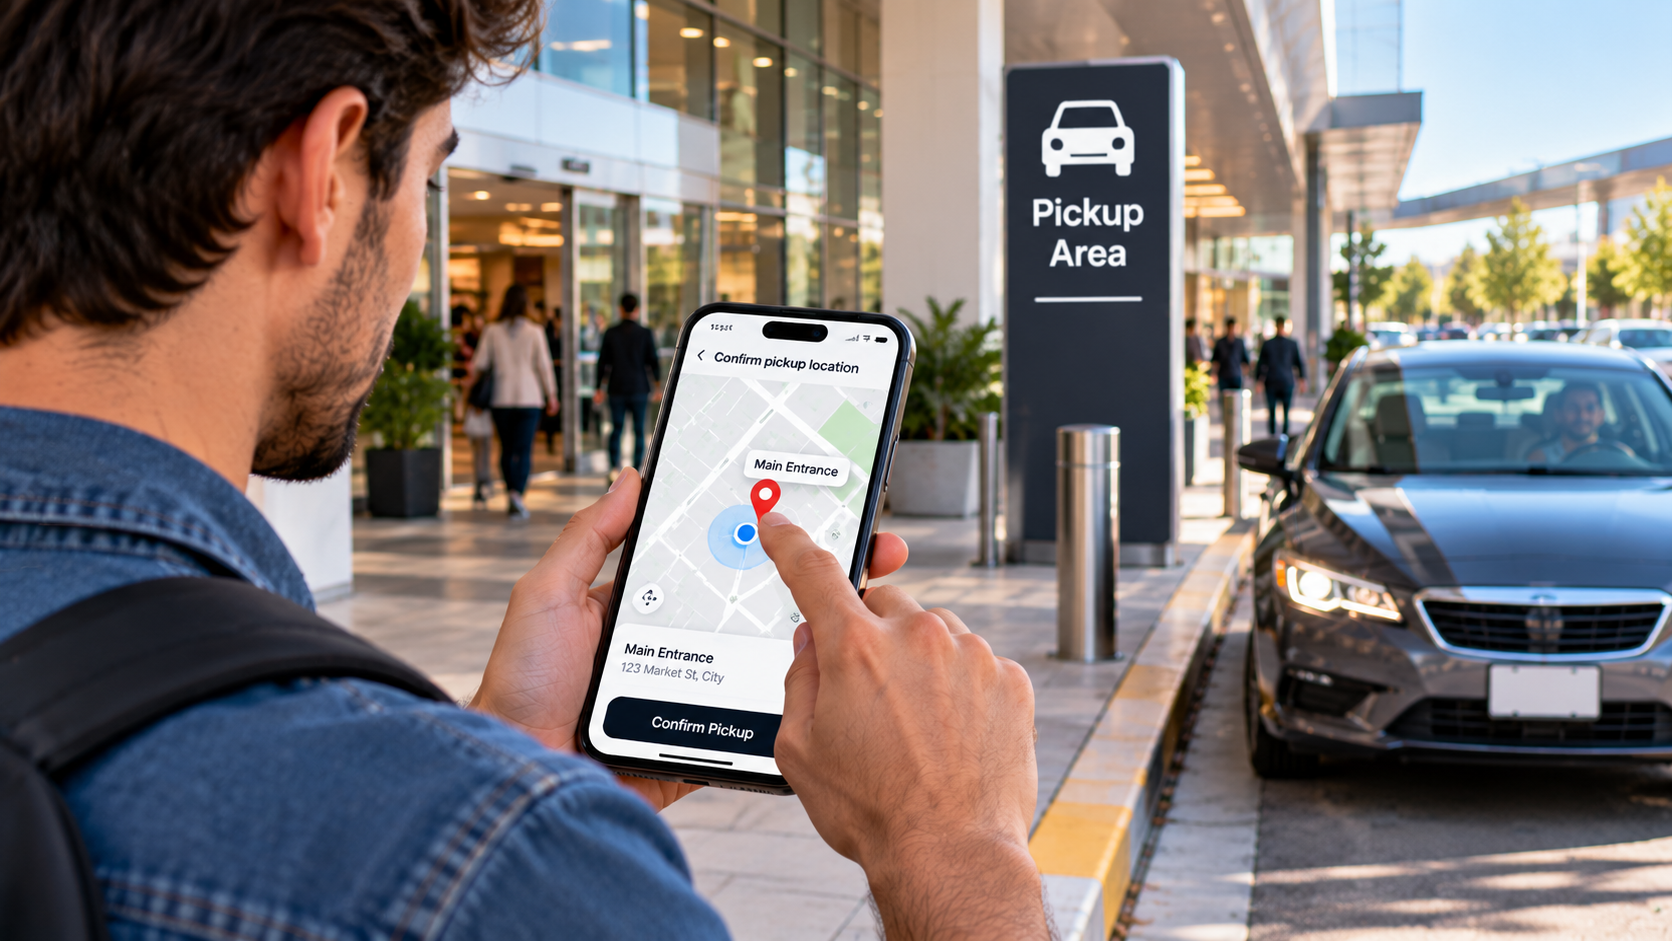
Step 4: Confirm Your Pickup Location
After choosing your destination, check your pickup point.
Uber may automatically use your current GPS location.
If it is wrong, you can adjust it.
- Depending on the app interface, you may be able to:
- Move the pickup pin
- Search for another pickup address
- Choose a suggested pickup point
- Select a nearby designated pickup area
Uber sometimes recommends specific pickup points that can make it easier for the driver to reach you.
At busy places such as airports or events, you may need to choose a particular pickup zone rather than simply standing anywhere outside.
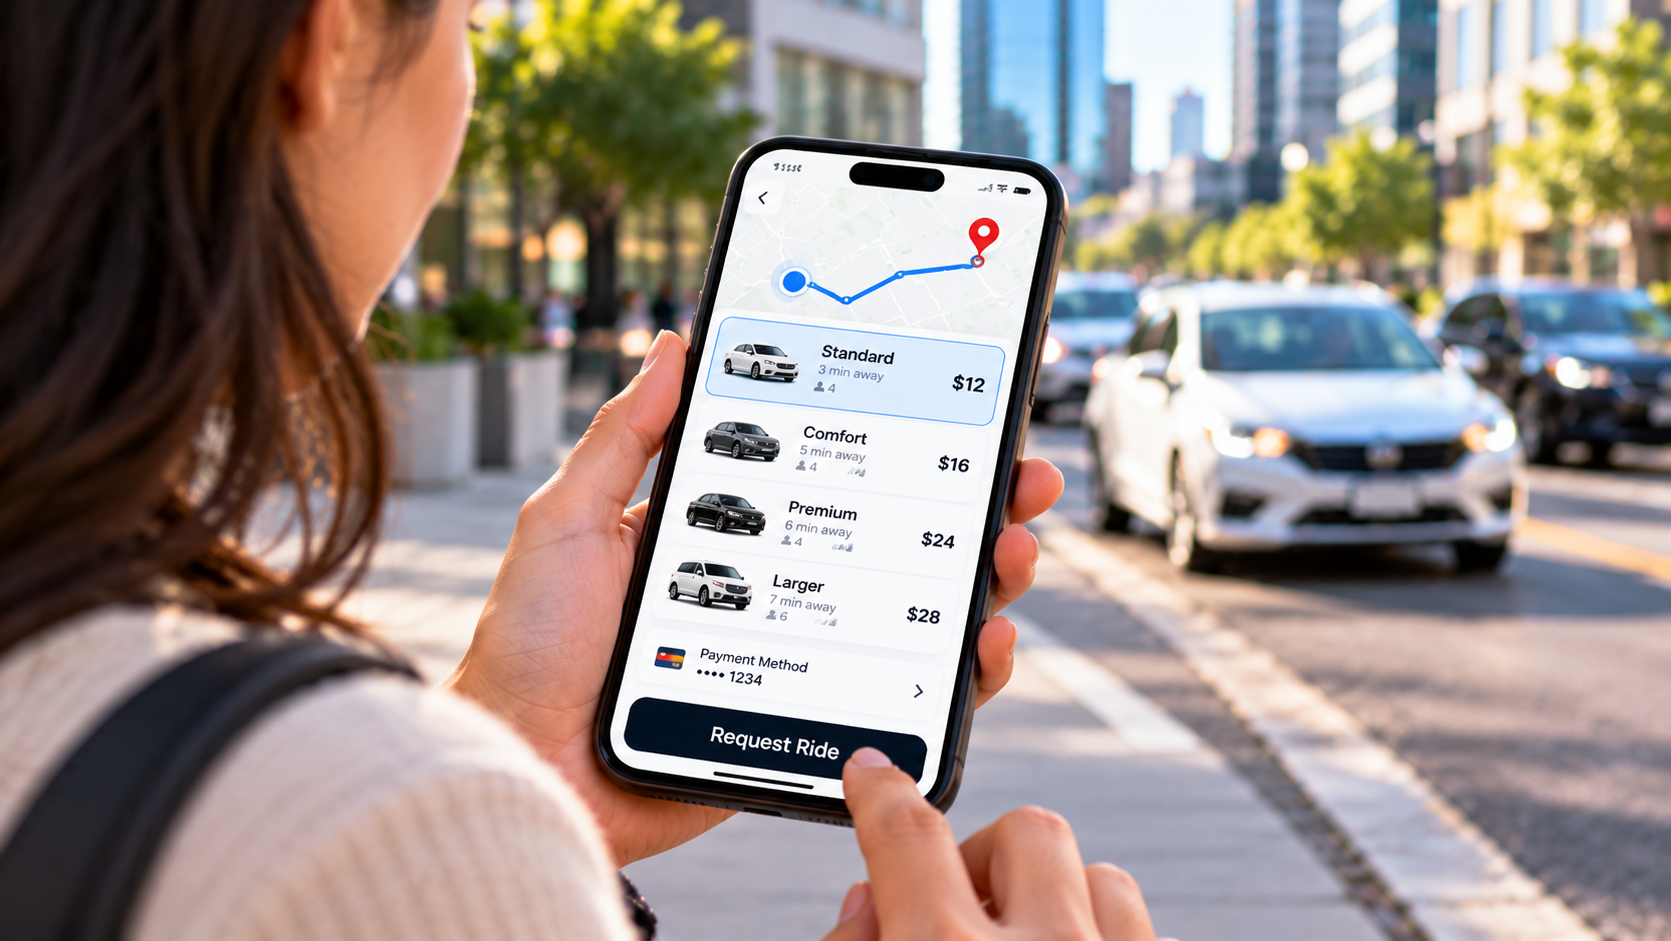
Step 5: Review the Available Ride Options
The app will normally show the ride types available in your area.
Availability can vary considerably between cities.
For example, some locations may show options such as UberX or other vehicle categories.
The app usually displays information such as:
- Estimated pickup time
- Estimated trip price
- Vehicle type
- Passenger capacity
Uber says riders can swipe or scroll through the available vehicle options and select the one they want before confirming the request.
Do not assume every Uber service is available everywhere.
Step 6: Check the Estimated Fare
Before requesting the ride, look at the estimated price shown in the app.
The cost can depend on several factors, including:
- Distance
- Trip duration
- Location
- Ride type
- Current demand
- Traffic conditions
- Applicable fees
The amount displayed before booking helps you compare the available options.
If you do not need a premium or larger vehicle, a standard ride option may be enough.
Remember that the final charge can sometimes differ if the trip changes, extra stops are added, or other applicable charges occur.
Step 7: Check Your Payment Method
Before confirming the ride, verify the payment method selected for the trip.
Uber says riders can tap the payment details shown below the ride options and select another eligible payment method before requesting the trip.
Available payment methods depend on the country and city.
They may include options such as:
- Credit cards
- Debit cards
- Digital wallets
Cash in supported locations
Other local payment methods
For example, Uber currently supports bKash as an option for eligible riders in Bangladesh.
You can generally add a payment method from:
Account → Wallet → Add Payment
Exact menu names can change slightly between app versions.
Step 8: Request the Ride
Once you have checked:
Your destination
Your pickup location
Your ride type
Your estimated fare
Your payment method
You are ready to request the car.
Depending on the app version and ride option, the button may say something such as:
Request
Confirm Pickup
or
Confirm UberX
After you confirm, Uber sends your request to eligible nearby drivers.
You may see an estimated time while Uber searches for a driver.
Step 9: Wait for a Driver to Accept
Your ride is not fully matched until a driver accepts the request.
Once that happens, Uber displays information about the driver and vehicle.
You should be able to see the driver’s movement on the map as they travel toward you.
Uber also provides an estimated arrival time.
The app can send a notification when the driver is getting close.
Step 10: Track Your Driver
Once you have been matched, you can follow the driver’s approximate location on the map.
This makes it easier to know when to move toward your pickup point.
Instead of waiting outside for a long time, you can watch the driver’s estimated arrival time.
However, be ready when the vehicle arrives.
At busy locations, unnecessary delays can make pickups harder for both you and the driver.
Step 11: Check the Driver and Vehicle
This is one of the most important steps.
Do not enter a vehicle simply because the driver says they are your Uber.
Uber provides information in the app so you can confirm your ride.
After matching, you can check:
Driver photo
Driver name
Vehicle make
Vehicle model
License plate number
Uber specifically advises riders to compare the license plate displayed in the app with the actual vehicle before entering.
If the information does not match, do not enter the vehicle.
Step 12: Meet Your Driver at the Pickup Point
Move to the pickup point you selected.
If possible, stand somewhere that is:
Safe
Legal for vehicles to stop
Easy for the driver to see
Consistent with the location shown in the app
Avoid unexpectedly walking several blocks away from the confirmed pickup location without updating the driver.
At airports and large venues, follow signs for designated rideshare pickup areas.
How to Contact Your Uber Driver
If you cannot find your driver, the Uber app provides communication options.
For example, you may be able to call or message the driver through the app.
A short message can help when the location is confusing.
For example:
“I’m standing near the main entrance.”
Or:
“I’m beside the designated rideshare pickup sign.”
Keep the message simple and focused on helping the driver find you.
Uber also offers preset pickup messages in some versions of its pickup experience.
What If the Pickup Location Is Wrong?
If you notice the location is wrong before confirming, change it immediately.
You can usually:
- Move the map pin
- Enter another address
- Choose a suggested pickup point
Uber may display nearby suggested pickup locations as blue points in the app.
Checking this before requesting the ride can prevent the driver from going to the wrong street.
What Happens If No Drivers Are Available?
Sometimes Uber may not find a nearby driver for the ride option you selected.
This can happen because of:
- Low driver availability
- High demand
- Remote locations
- Late night hours
- Weather
- Local events
Uber says that if the selected ride type is unavailable, the app may suggest another available ride option.
You may need to wait and try again.
How Do You Pay for an Uber Ride?
Your selected payment method is generally used for the trip.
If you have added multiple eligible payment options, check the one selected before requesting the ride.
Uber allows riders to choose their payment method from the ride screen.
Payment availability depends on your market.
For example, certain cities support cash while others primarily use cashless methods.
In Bangladesh, eligible Uber accounts can currently add bKash as a payment method.
How to Add a New Payment Method
Uber’s current general process is:
- Open the Uber app.
- Select Account.
- Open Wallet.
- Choose Add Payment.
- Select an available payment method.
- Enter the required information.
- Save it.
Uber says available payment methods differ by country and city.
How to Make Your Uber Pickup Easier
Small details can make your first ride much smoother.
Check the Pickup Pin
Make sure it is on the correct side of the street or near the entrance where you are actually waiting.
Be Ready Before Requesting
Gather your belongings before requesting the car.
Watch the Map
Track the driver as they approach.
Use a Clear Meeting Point
Large buildings often have several entrances.
Pick one clear location.
Check the License Plate
Always compare the vehicle with the information shown in the app.
Avoid Distracting Pickup Areas
Choose a safe place where the driver can legally stop when possible.
Using Uber’s PIN Verification Feature
Uber also provides an optional feature called Verify Your Trip in supported accounts.
When enabled, Uber gives you a unique four digit PIN for your ride.
You tell the PIN to the driver, and the driver enters it before beginning the trip.
Uber says riders can choose to use PIN verification on every trip or only at night, where available.
This can provide another way to confirm you entered the correct vehicle.
Common Mistakes First Time Uber Riders Make
Choosing the Wrong Pickup Location
GPS can place the pin near your location without choosing the exact entrance you need.
Always check it.
Entering the Wrong Car
Never identify your Uber based only on the car’s general appearance.
Check the license plate, driver, make, and model.
Selecting the Wrong Destination
Check the full address before requesting.
Ignoring the Payment Method
Make sure the payment option you intend to use is selected.
Not Watching the Driver’s Arrival
Following the map makes pickup easier and reduces unnecessary waiting.
Waiting Somewhere the Driver Cannot Stop
Busy intersections and restricted zones can make pickups difficult.
Move to an appropriate pickup point when possible.
Frequently Asked Questions
How Do I Order an Uber for the First Time?
Open the Uber app, enter your destination, confirm your pickup point, choose a ride option, review your payment method, and confirm the request.
Once a driver accepts, the app will show the driver’s location and vehicle information.
Do I Need to Call the Uber Driver?
Usually not.
The driver receives your pickup information through the app.
You may contact them through the app if you need to clarify where you are waiting.
How Do I Know Which Uber Car Is Mine?
Check the driver’s name and photo along with the vehicle make, model, and license plate displayed in your app.
Can I Change My Pickup Location?
You can adjust the pickup location before requesting your ride by moving the pin or entering another location.
Suggested pickup points may also appear in some areas.
Can I Pay Uber With Cash?
Cash availability depends on the country and city.
Check the payment options displayed in your Uber account before requesting a ride.
Can I Pay Uber With a Credit or Debit Card?
Eligible credit and debit cards can be added through the Wallet section of the Uber app in supported markets.
Can I Use bKash With Uber?
In Bangladesh, Uber currently says eligible riders can add bKash through the Wallet or Payment section and select it for supported trips.
Can I Track My Driver After Requesting a Ride?
Yes.
Once a driver accepts the trip, Uber displays their approximate location and estimated arrival time on the map.
What Should I Check Before Getting Into the Car?
Compare the driver’s photo, name, vehicle model, and especially the license plate with the information shown in your Uber app.
What If Uber Cannot Find a Driver?
The app may suggest another available ride category. You can also wait and try requesting again later.